Dominosteine

Dominosteine are german christmas sweets. Normally they consist of three layers. On top there is a fruit gelee, no idea what flavour. In the middle there is marzipan and the bottom is gingerbread. And everything ist covered in chocolate. I prefer the dark chocolate version, because it is not so sweet.
Because I don’t like the gingerbread-base, I left it out in my version. It consists of two layers of quince cheese (membrillo) and one layer of marzipan in the middle. For this purpose the quince cheese has to be quite thin, so this time I spread it on a baking tray 3-4 mm thick. You can find the quince cheese recipe here.

Dominosteine


ingredients

  • quince cheese, about 20 x 30 cm, 3-4 mm thick
  • 100 g marzipan
  • 50 g icing sugar
  • 1 Tbsp rose water
  • about 170 g dark chocolate coating


Foto 13.12.15 13 38 43Knead the marzipan with the icing sugar and the rose water into a homogeneous paste.
Break the chocolate for the coating into pieces and start melting it in a water bath. But be careful not to let it get to warm. This seems to be the problem with my coating, it gets white marks.

Spread the marzipan evenly on the quince cheese, then cut it into strips of 15 mm. Cut again into quarters. Press two pieces with the marzipan-sides gently together.


Foto 13.12.15 14 07 46

Now you are almost finished. Use a brush to coat on all sides except the bottom with the chocolate. Leave to dry, then turn over and coat the bottom and any left out parts.

I think after one or two days they taste even better.

Princess cookie sticks

Here I am … again.
This year I am really deep into presenting you all of my favorite christmas cookie recipes.
Since I bought an attachement for my KitchenAid to make spritz biscuits, these are a regular around christmas. They are easily assembled and taste great. The name suggests to make cookie sticks, but I do as well little rounds or „S“ or whatever works.

Foto 27.11.15 20 18 06


ingredients

  • 125 g butter or margarine
  • 125 g vanilla scented sugar (I mixed a sachet of vanilla sugar with the „regular“ sugar)
  • 125 g ground, toasted hazelnuts
  •  250 g flour
  • 1/8 l milk
  • 100 g sugar (for the icing)
  • 75 ml water (for the icing)
  • 2 Tbsp rhum (for the icing)


Preheat oven to 150 °C.
It is a nice extra to toast the ground hazelnuts for these cookies, simply by toasting them in an ungreased pan over low heat, very carefull, because they burn really quick. You can also buy already toasted nuts.
To assembe the dough, beat the butter/margarine until light, then add all of the other ingredients and mix well. It will form a quite soft but strechy dough.
Spritz your cookies and place them on a lined baking sheet and bake for 25 min on the middle rack.
They will not colour much, I guess you can let them longer in the oven if you prefer.
As long as the cookies are in the oven, prepare the cooked icing.
Place the 75 ml water, the 100 g sugar and the rhum in a small saucepan and simmer, stirring occasionally, until all the sugar has dissolved.
Right after taking the cookies out of the oven, brush them with this icng, and let dry very well.

I have to apologize, I only made this one photo so far …

lemon cookies

And there we go. The second cookie recipe for this winter.
This one is a tradition in my best friend tines‘ family. And in all the years we shared an apartment, there were always a lot of these delicious sweet-sour cookies around at christmas. So I missed them since then, and last year I got the recipe, which I share with you right now!

Zitronenkekse


These are Spritzgebäck. Right now I don’t know the english word. But Leo suggests spritz biscuits. I don’t own a pastry bag, so I used a freezer bag and cut one edge off. Worked just fine.

ingredients

  • 150 g butter or margarine
  •  200 g flour
  • 1 egg/egg-replacer (I used 1 Tbsp joghurt, 1 Tbsp corn starch, 1 Tbsp soja flour, 2 Tbsp water)
  • 250 g icing sugar
  • juice and grated peel of 1 lemon


Preheat oven to 175 °C. Mix butter/margarine with the lemon peel and 125 g of the sugar until light and fluffy. Now add the flour.
Pipe this dough on a lined baking sheet, but leave enough space between the cookies, because they will flatten a bit while baking.
Like I wrote above, I used a freezer bag, cut the edge off, about 4mm. That worked really good.

IMG_8605Bake them in the oven on the middle rack for 15 min until golden. Meanwhile prepare the lemon icing with the lemon juice and the rest of the icing sugar.
As soon as the cookies are ready, start icing them with a brush, I „painted“ them 2-3 times. Let dry completely before moving them to a cookie jar.


„Luisa“-Triangles

Plätzchen-season starts NOW!
Last year I completely failed at posting my „Plätzchen“ recipes in time, so I didn’t do it at all. But this year I started early enough, so you maybe you want to try one or two of my favorites.

This recipe is originally from a baking powder or vanillin sugar sachet. I collected a lot of these and stored them in my recipe book. The book smells very good now. And it also happened, that I tried some of these recipes. This one is a regular for me, and usually the first cookie recipe I bake for christmas.

Luisen-Dreiecke


Last year my cocoa was out, so I topped it up with carob. One of these ingredients I HAD TO BUY, but never know, what to do with it exactly. The cookies are delicious one way or the other, with the cocoa-carob mix I suggest or only with cocoa, so feel free to do it the way you want.

ingredients

  • 125 g butter oder margarine
  •  250 g flour (type 405 or 550)
  • 1 tsp baking powder
  • 15 g cocoa
  • 15 g carob or cocoa
  • 1oo g sugar + ca. 3 Tbsp extra
  • 1 packet vanilla sugar
  • 2 Tbsp rhum
  • 3 Tbsp water

Luisen-DreieckePlace the cold butter/margarine in a mixing bowl and top with the dry ingredients (flour, sugar, cocoa/carob, baking powder) and cut with a knife the butter/margarine into small pieces, while mixing in the dry ingredients.
Now add the liquid ingredients and knead either with your hands ot the dough attachement on your food processor, until everything is incorporated. I usually have to knead a little bit with my hands in the end to get the best results.

Let the dough sit in the fridge for 30 min, while you preheat you oven to 190°C.

Roll your dough into one or two sausages with 3 cm diameter, and either kepp them that way or do it the way I do nowadays, and create a gigantic triangle-sausage. Roll in the 3 Tbsp of sugar, using more if you need.
Cut the sausage into 7 mm slices and put on a lined baking sheet. Bake for 10 minutes.
That’s it. Delish.


Cheesecake-coconut ice cream

Already two years ago I bought an ice cream maker for my KitchenAid. I love ice cream, so I thought, it would be lovely to make it for myself.

Starting my research for interesting recipes, I was really stunned, that most call for 10 egg yolks. I instantly knew, that I would never make one of these recipes. So I didn’t use my ice cream for almost one year. Then I tried a few recipes with cream and fruit, but I still wasn’t completely happy.
This summer I started a new research and found some very interesting recipes, using coconut milk instead of cream, and I had to try this. A few tryouts later I found the perfect ice cream base for me. It is this recipe from Ashley from edible perspective. I added a few things to create the cheesecake flavour.

Ingredients

  •  2 cans coconut milk (NOT light!!)
  • 1/3 cup brown rice syrup
  • 1/3 cup raw cane sugar
  • 2 tbs natural vanilla flavour
  • 1 Tbsp arrowroot starch
  • juice and zest of 1 large lemon
  • 1 1/2 Tbsp Vodka
  • 1 pinch salt
  • 2-4 cookies (I used Digestive)
  • compote from blackcurrants (optional)

The ice cream mixture should be really cold when putting it in the ice cream maker, so it makes a lot of sense, to prepare the mixture the day before you make the ice cream. Also you have to put the bowl for your ice machine into your freezer.

So the day before, pour the coconut milk into a saucepan, take a few spoons aout and mix them thouroughly with the arrowroot starch, then pour back into the saucepan.
Add all the other ingredients: the lemon juice and zest, the vanilla flavour, the sweetener and a pinch of salt. Bring to a soft boil, stirring occasionally and let boil for about 5 min. It should thicken a bit. Let cool to room temperature, stir occasionally to avoid forming a skin. As soon as it is cool, add the vodka and transfer to a bowl that fits into the fridge. Cover the surface with clingfilm, again to prevent a skin, and put in the fridge.
If you want to use a black currant compote, just cook 2 handful of blackcurrants with 2 Tbsp of sugar until soft, breaking the berries with a spoon. The day after, prepare your ice cream maker, pour the mixture into the bowl and start churning. As soon as your ice cream is finished (mine takes usually 25 min) add the crumbled cookies and churn one last time. Transfer to a container that can be frozen.
If using the blackcurrant compote, pour a few tablespoons on top and swirl them with a spoon or a knife. Smoothen the surfacer and press clingfilm on top. This prevents ice crystals from forming. Cover with the lid and freeze for 4-5 hours.If you want to eat the ice cream, you should take it out of the freezer a few minutes before, then it is better scoopable.

Käsekuchen-Kokosnuss-Eis


vanilla icing sugar

VanillepuderzuckerLast weekend I made a very tasty redcurrant-cheesecake from this website vegan-und-lecker.de, and I needed the seeds from one vanilla pod. I was always very unhappy with throwing away the scraped out pod, so I usually keep it to cook it whenever there is milk and something sweet involved, with the milk.
Sometime ago I thought of making my own vanilla sugar. I put the vanilla pod with some sugar in a blender and out came vanilla flavoured icing sugar. Nice!
Easy and versatile, as I like it. But to call this a recipe is mere exaggeration …

ingredients vanilla icing sugar

  •  1 scraped out vanilla pod Vanilleschote
  • 1 cup sugar (ideally light cane sugar)

IMG_7744Simply put the sugar with the pod in a blender an bland it until the vanilla pod ist almost completely dissolved. I like to have a few small crumbs left in the powdered sugar.
You will need to shake the blender a few times, so everything can mix well.

I would love to try it out with less sugar, but it doesn’t work in my blender, so I guess I will have to add a second vanilla pod sometime.

Great whenever vanilla sugar is asked for or on waffles and everything sweet you want to add a subtle vanilla flavour.

jelly bear cake

GummibärchentorteThis is THE family classic for me! My mother invented this cake for my birthday, I cannot recall that she baked it for my brother, but I can remember it for as long as I can think for my birthdays. It is also in a lot of birthday photos.
I started baking it for myself a few years ago, because I missed it. And because I like a good tradition.
It is not a typical butter-cream cake, picture a fresh, fruity curd between sponge layers, topped with delicious vanilla whipped cream.
Right! Yummy.

Ingredients „Wasserbiskuit“ (translates water sponge)

  • 5 Tbsp water
  • 5 eggs
  • 300 g sugar
  • 250 g flour
  • grated zest of a lemon
  • a pinch salt

This recipe is from a cookbook for cooking and domestic science schools from 1925 that my grandmother gave me. You can find  recipes like „war biscuits“ and „bread water“ in there. Awesome.

Preheat the oven to 140 °C. Divide the egg yolks from the whites.
Mix the yolks with the water for 3 min, then add the sugar and mix until light and fluffy.
Beat the egg whites with a pinch of salt until they form firm peaks.
Fold the (sieved) flour and lemon zest and the egg whites under the sugar-yolk mixture until well combined.
Pour into a greased 28 cm cake tin and bake for about 1 hour at 140 °C.
It took a little longer this time, so check with a wooden skewer, if the sponge is done. I think I will try 150°C next time.
Take the cake tin out of the oven and let it rest for about 10 min before removing the sponge carefully from the tin.
Slice it once horizontally and let cool completely.

This step can be made a day ahead.

ingredients filling & vanilla whipped cream

  • 300 g mixed frozen berries (raspberries and blackberries with some red and black currants works best for me)
  • 5–7 Tbsp raw cane sugar
  • 400 g curd cheese (20% fat)
  • 1 packet vanilla sugar
  • 300 ml whipping cream
  • 3 packets vanilla sugar or 3 Tbsp home-made vanilla icing sugar
  • 1 packet jelly bears (I recommend the vegan ones, because they are softer) or fresh berries

Thaw the frozen berries for about one hour. If they produce very much juice, strain them. Mix with the curd in a bowl, and add enough sugar until you get a fruity but not to sweet filling. Your sponge ist quite sweet, and also the whipped cream, so be easy on the sugar.
Spoon half of the filling on the bottom half of the sponge  and add enough to cover it, it can be about 1 cm thick, but shouldn’t run down the sides. There will be some filling left.

IMG_7058Top with the upper half of the sponge. If it get’s messy, like it happend with my sponge this time, everything broke in pieces. Don’t worry. It still tastes the same and after decorating with the cream, no one can tell a thing.

If you don’t want to eat the cake straight away, put it in the fridge, and proceed with the whipped cream right before serving.

Put the cream and the vanilla sugar in a mixing bowl and whip with medium speed with a handheld or stand mixer. I recently read an good article about whipping cream here: www.thekitchn.com.
Spread the whipped cream with a spatula carefully all over your sponge. I guess there will also be some whipped cream left, but no worries, it tastes very good all on it’s own, direktly from the spatula.
Finish with decorating with the jelly bears, fresh berries or whatever you like.
This year I had to buy jelly berries, because no bears were available, but it was still nice, but I guess I have to deliver a photo of the „original“ cake someday.

IMG_7061

Stollen

A Stollen, also „Christstollen“ is a traditional german fruit cake, made for christmas. I’ve always enjoyed the stollen, made by my friend charlottes mother, so one day I asked for the recipe. And here it is. Last year I tried it for the first time, and it turned out very nice. The recipe isn’t very difficult, but you need some time and loads of raisins and butter/margarine.

The stollen has to sit for a few weeks, so now really is the time to bake it. Traditionally are raisins, currants, candied lemon and orange peel and almond slivers used in the dough, but you can exchange parts of the dried fruit for dried cranberries, aronia or dates. I didn’t have any currants, so I used dates instead.

The recipe is for one (giant) stollen, but charlottes mother already wrote in her recipe, that she divides the dough in two parts for two „normal“ sized stollen.

Ingredients

  • 500 g raisins
  • 125 g currants
  • 250 g almond slivers
  • 100 g candied lemon peel
  • 100 g candied orange peel
  • 1 lemon, grated peel and juice
  • 2 small glasses rum (ca. 200 ml)
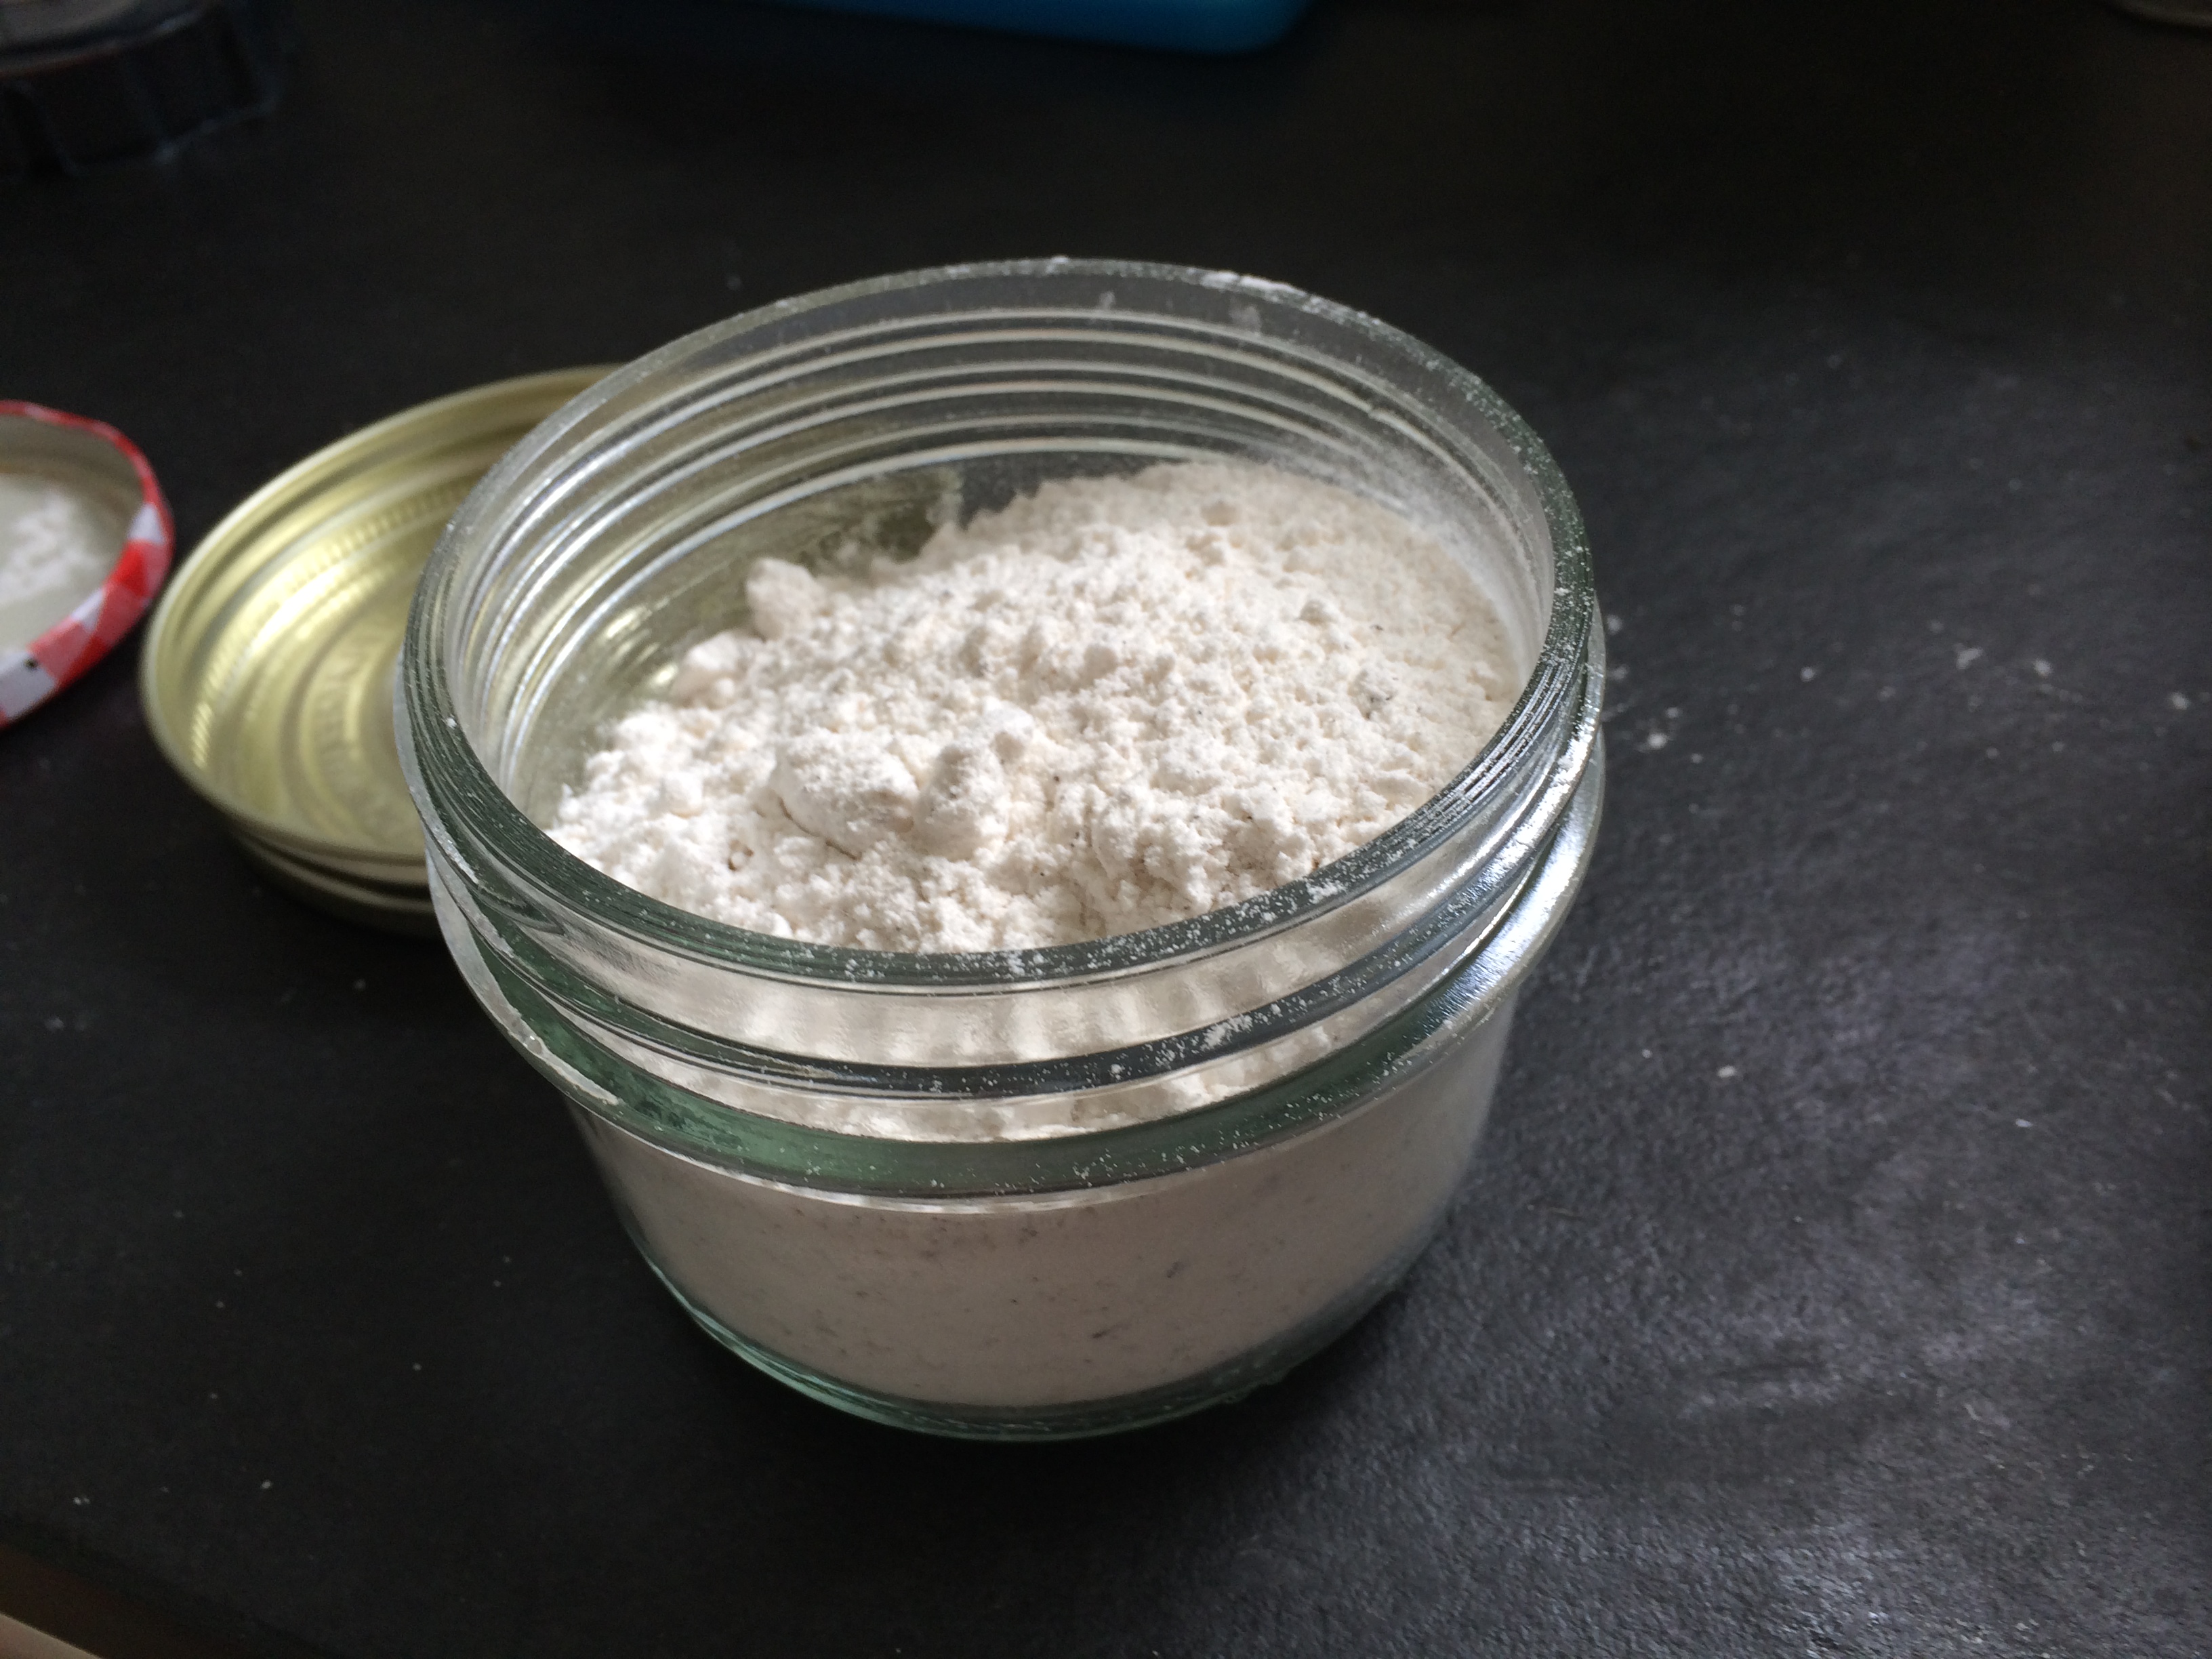
  • 1 kg flour
  • 120 g fresh yeast or 6 packets dried yeast
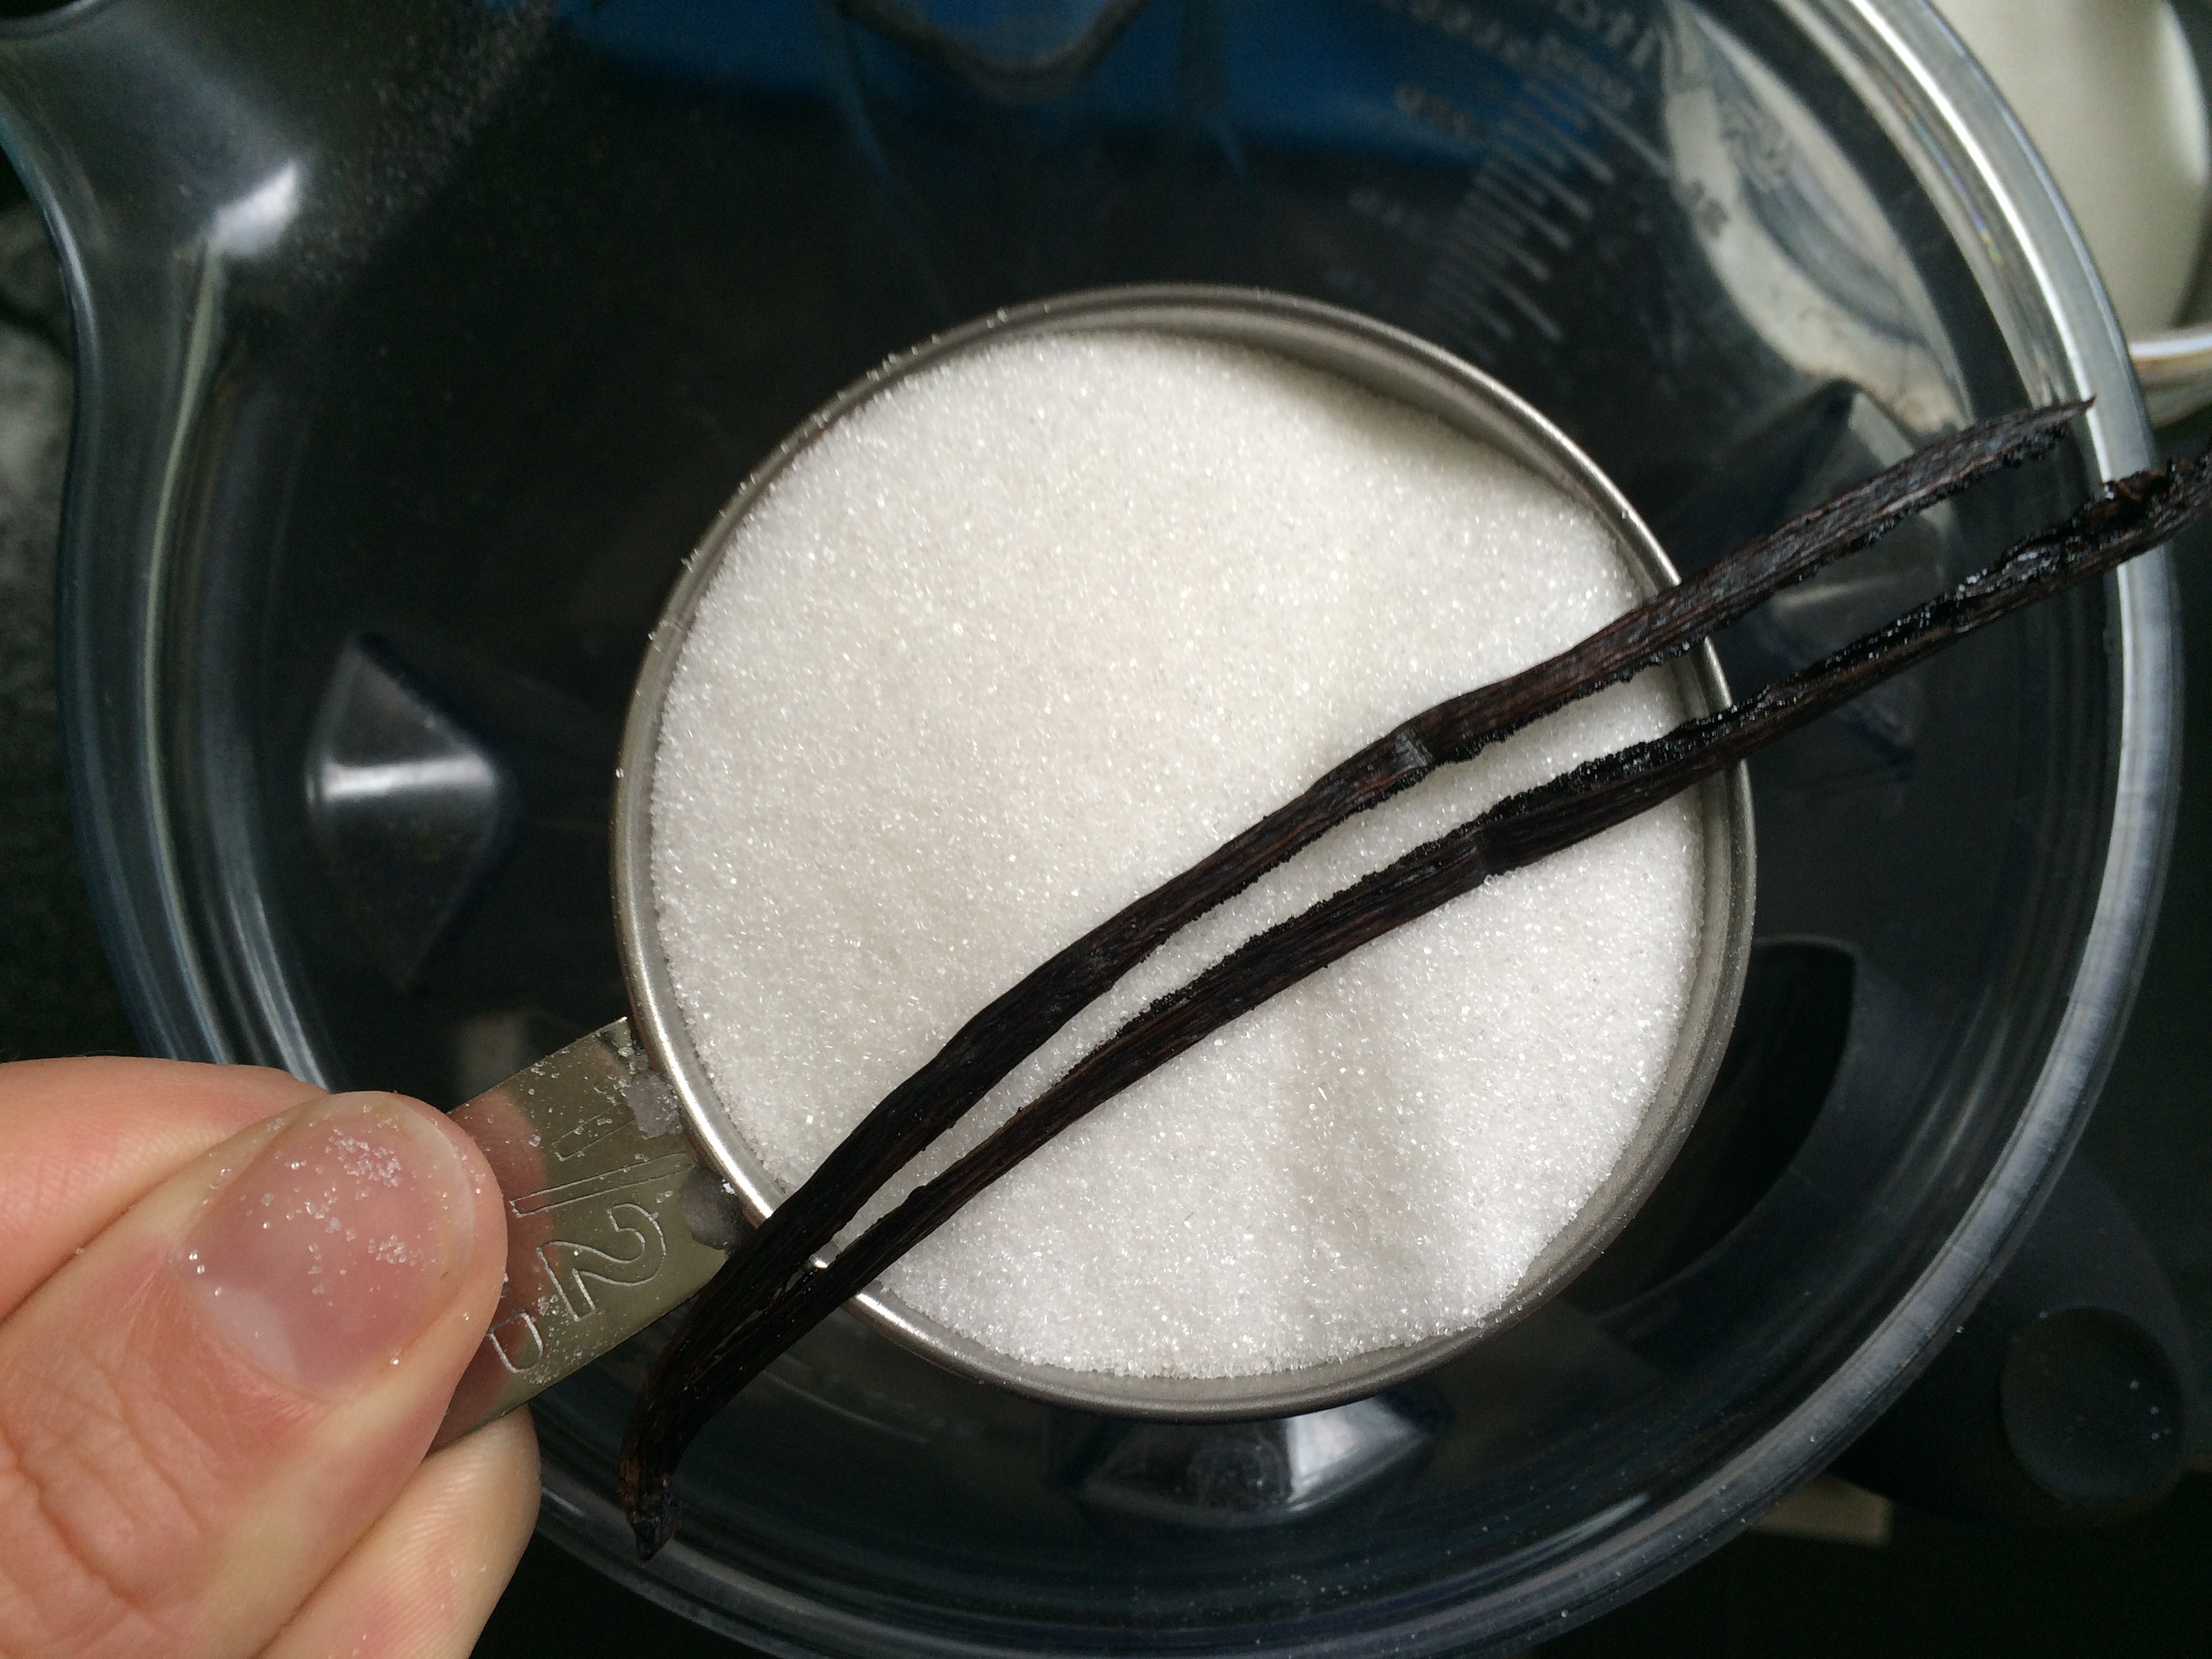
  • 175 g sugar
  • 1/4 litre lukewarm milk (I used spelt-almond)
  • 750 g butter/margarine
  • confectioners’/icing sugar

Früchte-Mandel-Mischung
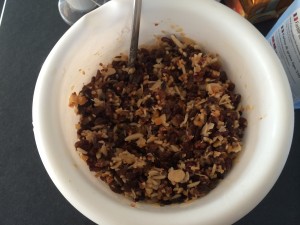
The day before, mix the dried fruit with the almond slivers, add the grated lemon peel. Pour the rum and lemon juice over the mixture and stir. Soak covered overnight, stirring a few times.

The next day sieve the flour in a big bowl (usually I skip the sieving part, … don’t know weather it makes a difference). Make a well in the center. Dissolve the yeast in the lukewarm milk with one tbsp sugar, pour it in the well, and carefully mix some of the flour in the yeast-milk mixture with a fork. Cover with a clean towel and let rise in a warm place for 15 min.

Now work all of the ingredients in the bowl very well together, until you get an elastic dough. Mix in the fruit-almond-mix and knead until everything is evenly mixed, cover and let rise again for 30 min. I did it in my kitchen aid, the bowl was really full, but it worked.

Preheat the oven to 200°C. Halve the dough and shape into stollen. The recipe describes it as follows:“roll out quite thick, press the rolling pin into the pin to form a longish cavity and fold one half over the other.“

Stollen mit Manschette
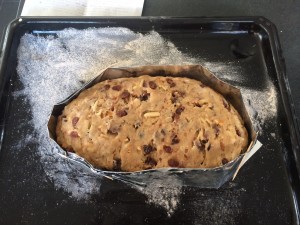
Put every stollen on a greased, floured baking sheet and wrap with a collar, made out of folded aluminium foil. Let it rise covered for the last time for 15 min. Bake in the oven one after the other for 90 min. Check after 30 min, if the top browns too fast. Cover with aluminium foil if it does.
Check for hte first time after 60 min with a wooden skewer, inserted into the stollen. If it comes out clean, the stollen is done. If there are crumbs on the skewer, check again after 15 min until done.


Stollen-Glasur
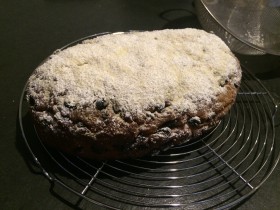
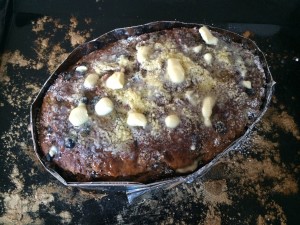
Remove from the oven and spread with butter/margarine and sieve loads of icing sugar on top. Repeat after 15 min. This will make a kind of glazing.

Cool the stollen completely, then wrap it in aluminium foil and store it for at least two weeks. Mine ary waiting in the cupboard right now :-)


Stollen


pound cake with saffron quinces

I baked this cake already twice in the last few weeks, because it is so delicious. The first time I added a little bit too much milk, so the cake was moist, and the quinces went all the way down to the bottom, but it was still very delicious.
It is very surprising to me, that the combination of saffron and quince is so exquisite.
As always you have to cook the quince first, but the rest is kind of a regular pound cake, so very easy, I would say.

Ingredients

  • 2 quinces, peeled, cored and cut into 1 cm cubes
  • 150 g sugar
  • 150 ml water
  • 1 big pinch saffron strands
  • 250 g butter/margarine, melted and cooled a little bit
  • 50–75 g sugar
  • 3 eggs/egg replacer
  • 200 g flour
  • 200 g corn starch
  • 1 packet baking powder
  • a little bit of milk (diary/non-diary)
  • 1 pinch of salt

IMG_5646First peel, core and cut the quinces. Put them with the 150 g sugar, the water and the big pinch of saffron in a small pan. Bring to a boil and let simmer for 8 min or until the quinces are soft. I think medium to low heat should do the job. You don’t want the quinces to fall apart. Put to the side and let cool down, while you proceed with the rest.
Melt the butter/margarine, preheat the oven to 175°C.
Fot the batter, whip the butter/margarine with 50 g of the remaining sugar until foamy and pale, add the eggs, one after the other or the prepared egg replacer.
Then add the flour, baking powder, salt and starch. Now you will have a quite firm batter. The sugar sirop of the quinces should be cool enough by now, to add it to the batter without „cooking“ the eggs. So add the sirop while stirring. If the batter needs more liquid, add milk until you get a smooth, gooey batter. Check for sweetness, if you think it needs more sugar, add again 25 g sugar.

Grease your springform tin (23cm diameter), I usually do this by using a butter/margarine paper. There is always left enough grease for the cake tin. Sometimes I need two papers. Since my mother showed me this trick, I always stash my butter/margarine papers in the fridge.
Fill in the batter, sprinkle the quince cubes on top and put the cake in the oven for 60 min.
If your oven doesn’t heat evenly it might help to rotate the cake after 30 min for 180°.
Check after 50 min with a wooden skewer, if the cake is already done. If no crumbs or batter stick on the cake you can get it out of the oven.

Sandkuchen mit Quitten

crumble cake (Streuselkuchen)

IMG_4259Whenever I harvest loads of fruit, I bake lots of cakes, muffins, tartes, etc, the delicious fruit has to be made into even more delicious pastries.
Today it’s time for my all-time favourit: Streuselkuchen (again I don’t really know how to translate the name …).
I bake this cake for a very long time, you can use almost every fruit you want, e.g. plums, apple, but it is also very nice without any fruit.

Recently I started to veganize the cake using margarine instead of butter and egg replacer instead of the eggs, and the milk can be replaced with any kind of diary free milk, I used almond and oat. Turned out very well, so feel free to make whatever version you want.


Ingredients

  • 200 g butter/margarine
  • 200 g cane sugar
  • 250 g all purpose flour
  • 100 g starch (corn or potato)
  • 4 eggs/egg replacer
  • 1 sachet vanilla sugar
  • 2 tsp baking powder
  • ca. 1/4 l milk (diary or non-diary)
  • ca. 500 g fruit of choice
  • from here: ingredients for the crumble
  • 250 g butter/margarine, melt
  • 1 sachet vanilla sugar
  • 200 g cane sugar
  • 400 g all purpose flour
  • 1/2  tsp salt
  • 1/2-1 Tbsp cinnamon

Preheat oven to 190°C.
For the cake batter, beat the eggs, sugar and butter until light and creamy.
It’s always best if all ingredients are at room temperature.
Now mix in the remaining ingredients, except the milk, you want to have a smooth batter.
Add the milk until the batter ist gooey.
Prepare a baking tray (approx. 45 x 30 cm), I usually grease it well, but I guess you can also use a sheet of baking parchment.
Spread the batter on the tray and scatter the washed and drained fruit evenly on the batter.

For the crumble, mix all ingredients together until they form a crumbly mass. Sprinkle the crumble evenly over the tray an pop into the oven.
Bake for approx. 45 min at 190°C. If your oven distributes the heat unevenly, you might want to rotate the tray after 25 min.
As soon as a wooden skewer comes out clean, the cake is ready.

Streuselkuchen